Rocky will seriously do ANYTHING for these yummies. They are quite easy to make, albeit a bit messy. Just remember to use water on your hands while making them and it is simple!
Gather ingredients:
1 can pumpkin (not pie filling, just straight plain old pumpkin)
8 tbsp. molasses
8 tbsp. water
4 tbsp. vegetable oil
4 cups flour
1/2 tsp. baking soda
1/2 tsp. baking powder
1/2 tsp. garlic powder
2 tsp. cinnamon
Mix the first 4 ingredients into bowl.
Add the rest of the ingredients.
Stir, then knead with hands until well blended.
Turn the oven on to 350.
Put a sheet of parchment paper on each of two large cookie sheets.
Using water to wet your hands (otherwise the dough is too sticky to work with!), roll the dough into small balls and place on cookie sheets in rows.
Wet your fingers and press down on each ball.
Put in oven and bake for 25 minutes at 350 degrees.
After 25 minutes, take the pans out of the oven. Once they cool, they are ready, HOWEVER, they will be soft and chewy. If that is fine, you are finished. If you want them to be hard (so that it works your pup’s teeth as well!), wait for the oven to cool slightly, then put the pans in overnight.
Store in an airtight container. Your pooch will LOVE you for these 😀
Asparagus is such a tasty veggie! This soup is sure to be a hit with any and all asparagus lovers and is very easy to make. This recipe makes a HUGE pot of soup, so what isn’t eaten right away can either be canned or frozen 🙂
Chop three onions. Pour about 2 tbsp. olive oil into large pot and add onions.
Prep asparagus. For a big pot of soup, about 8 lbs. of asparagus is needed. Wash thoroughly.
Grab a bunch, make sure ends are even, break one off, then cut the rest of the bunch in approximately the same place. This is a quick and easy way to get rid of the tough ends. You can save and freeze the ends for veggie stock or toss into the compost bin.
Cut off the ends and put them into a bowl. You will add these at the end.
Cut the rest of the asparagus into approximately 3/4″ pieces. They don’t have to be even or even pretty looking, as you will be blending them anyway.
Turn the stove on a medium flame and sautee the onions for about 5 minutes.
Add asparagus to the pot and stir. Turn the flame down to medium low and cook for 15 minutes, stirring occasionally.
Seriously easy chicken. I mean it: seriously easy. And delicious!
Preheat oven to 350 degrees.
Place chick in casserole dish or baking pan.
Mix olive oil, vinegar, red wine vinegar, mayo, garlic powder, basil, sage, paprika, salt, pepper, smidge of mint, fresh lemon juice – pour over chicken. (Or if you are feeling lazy and have some Italian dressing in the fridge, just open and pour some all over the chicken.)
Cover with aluminum foil, bake at 350 degrees for 45 minutes, remove cover. Bake for about 7 minutes uncovered, then sprinkle Parmesan on top and bake for another 7 minutes.
Makes oodles of “gravy” that can be poured on potatoes, broccoli, etc.
Saw this … HAD to try it. Not quite as easy as Pinterest would have me believe, but definitely a lot of fun!
Candies are ready!
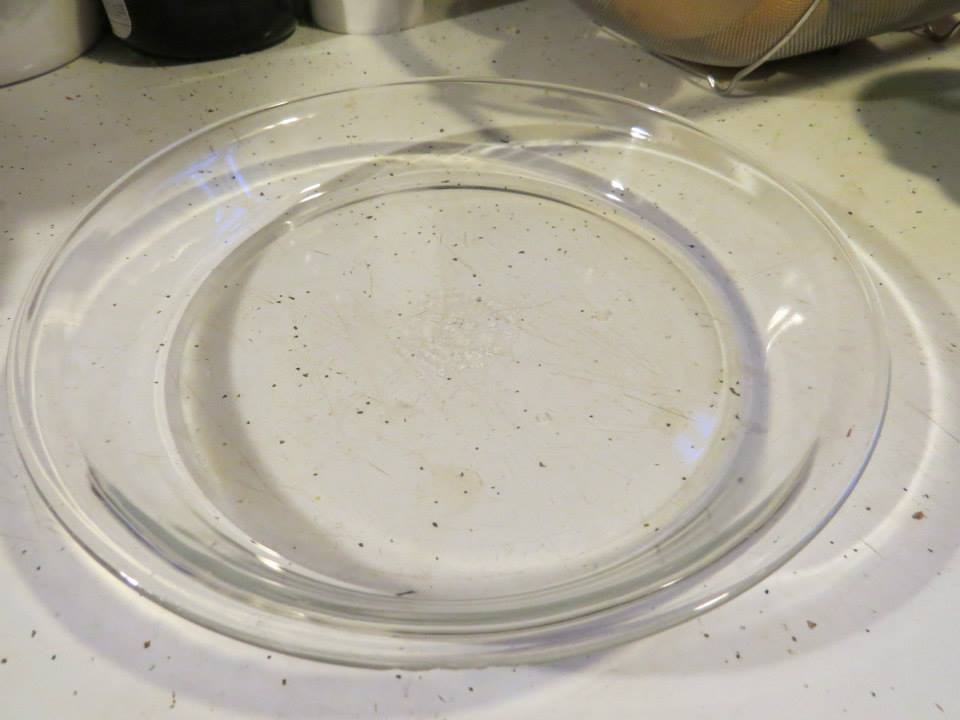
Wanted to have a lip around the edges or at least control the melting of the candy, so used this pie pan.
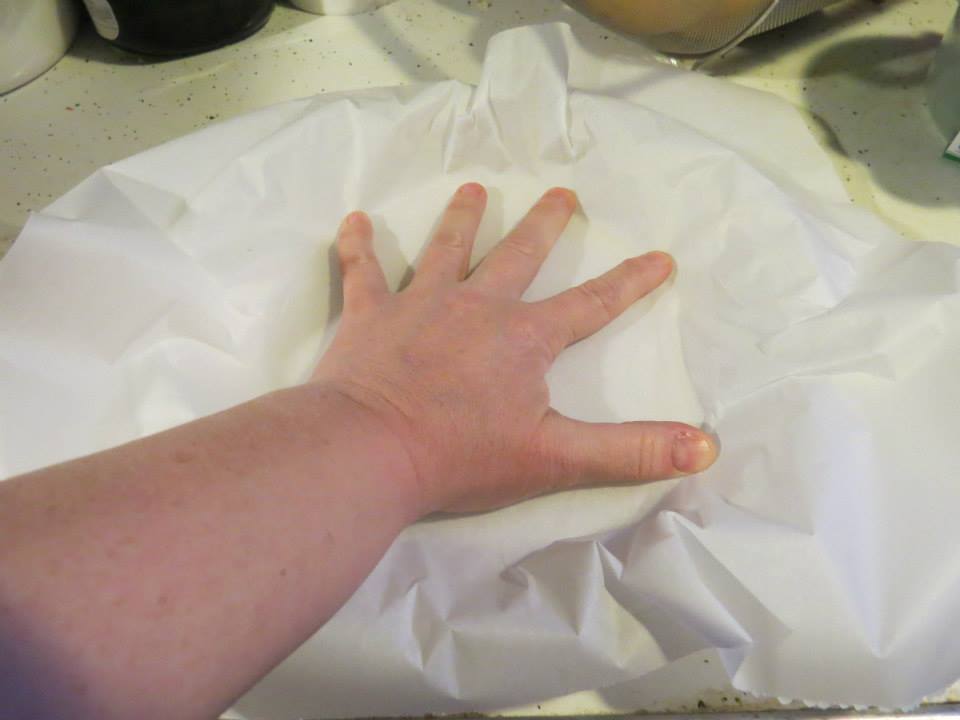
Umm … parchment paper says it doesn’t want to stay in the pan.
Seriously … had to squish, fold, bend, smoosh, pat, press, to get the parchment paper to even START cooperating.
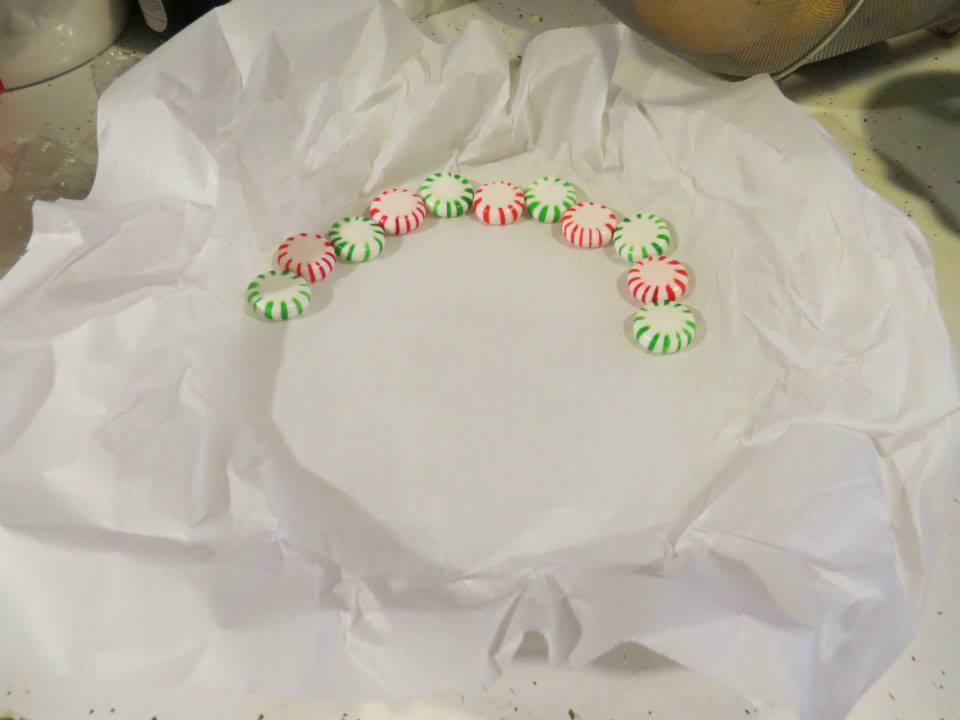
Starting to place the candies, but since the parchment paper is not laying flat, it and the candies keep moving.
Cut the parchment paper edges/corners, so that there was less excess and it did help a little. Once I finished the outer ring of candy, it was much easier. Note to self: starting with the outer ring might NOT be the wisest idea …
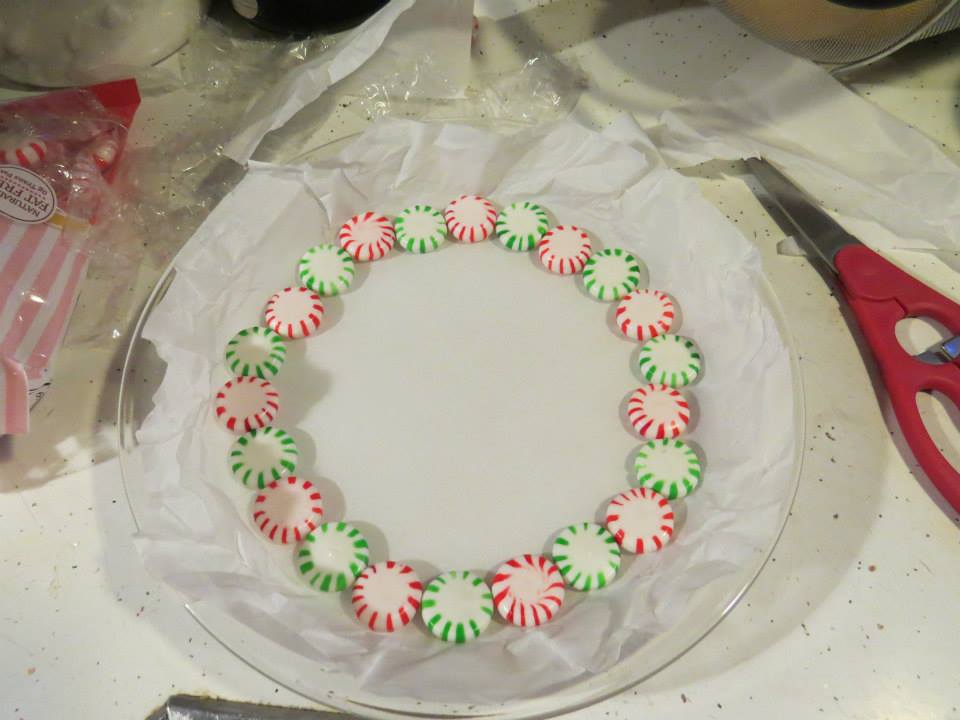
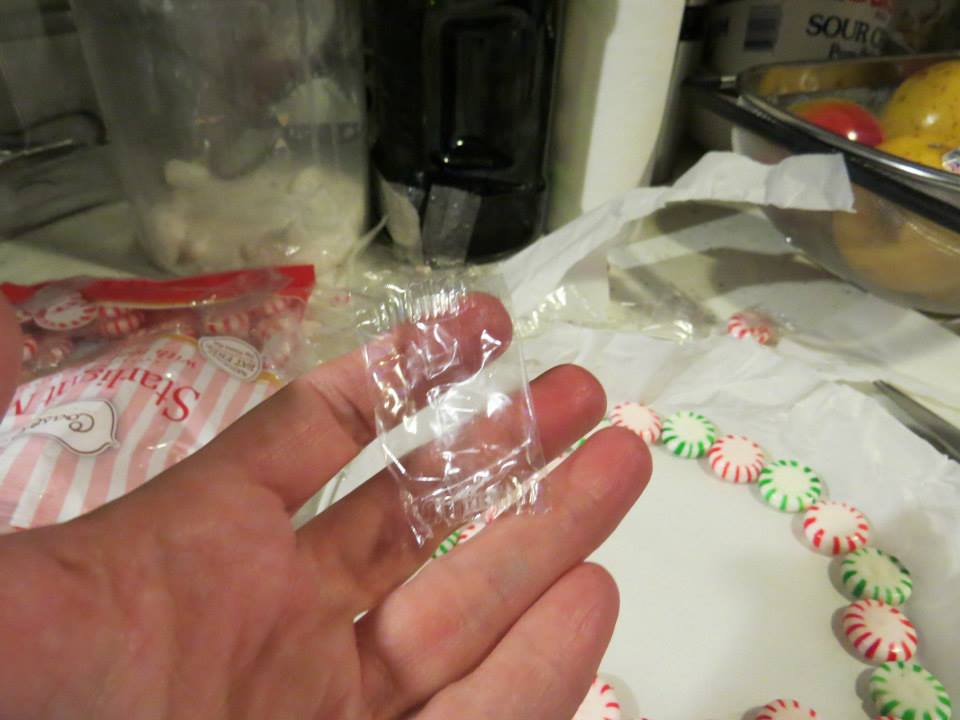
Another challenge is the wrapper. The wrapper that is FULL of static cling. The wrapper that likes my fingers. The wrapper that just won’t go away …
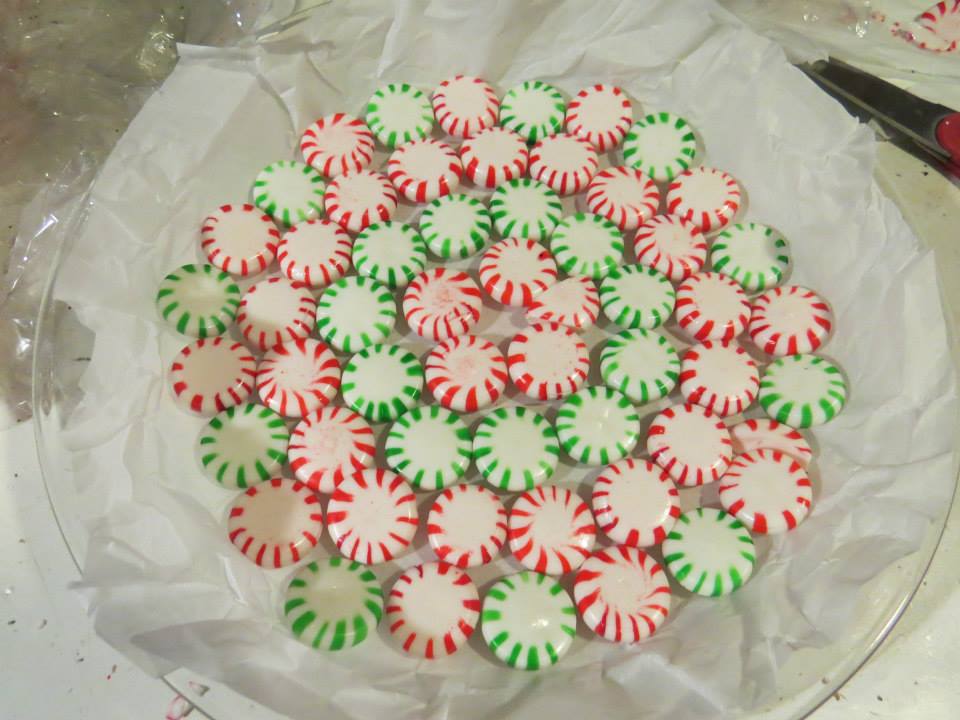
Finally finished! A little worried about the gaps and holes between the candies. What will happen?
Putting it in the oven (preheated at 350). Let’s see how this goes!
Umm … candies at 8 minutes are a little shinier, but don’t seem to be doing much more …
Holy cazooses! They melted like nobody’s business around 10-11 minutes!
After 11 minutes, took them out of the oven. Look at that! All of the gaps & holes are gone, it is one big, flat, cohesion of yumminess!
Carefully took it out of the pan and placed it on the counter to cool – it worked, by George, it really worked!!!
After a few more tests, I decided to try making ornaments too. Just place a few candies into a cookie cutter, put in the oven at 350 degrees for about 10 minutes and they are ready. It’s a little tricky making the hole in the top (using a toothpick), though. If you do it too soon, the candy is gooey and will stick to the toothpick. About a few minutes after taking it out of the oven, though, it loses its gooeyness, but isn’t too hard yet – poke a hole with the toothpick and let it cool completely.
Have fun playing with peppermint and spearmint candies … as well as butterscotch, cinnamon, Jolly Ranchers and any hard candy that you can find 😀
Every single recipe that calls for boiling beets suggested that they are boiled first and then the skins slip off. Every single recipe. Therefore, not knowing any better, I did that for years. Last night, however, I wanted to make a HUGE pot of beet soup and I wondered if there were a shortcut. My logic was this: first you wash the beets, then you cut off the ends, then you put them in the pot, then you let them boil, then they have to cool, then you slip off the skins, THEN you are ready to do something further with the recipe. Seems like a lot of wasted time and a huge mess. After all, once they are boiled, they are slippery and they are juicy.
So … I giggled and decided to experiment. I washed the beets. I cut off the ends. I peeled them. Yes, with a peeler (a y-shaped one is so much faster and easier). It was a bit messy, but not THAT bad. And it cleans up quickly, so no biggie at all.
After peeling, I cut the beets in quarters, tossed them into the pot, added water and boiled them. No slipping off skins needed. No accidental icky skins and teeny roots left in the juice. When they were tender enough, I used my immersion blender to chop them all up. Easy. Then I added broth, barley, carrots, onions, herbies and soup was done in no time.
OMGOMGOMG – I’ve DONE IT!!! I have created the PERFECT natural cleaning solution that does NOT smell like vinegar, even though it is made with vinegar! It has all of the cleaning and disinfecting qualities of vinegar, the awesomeness of being natural and healthy, but smells like lemons and lavender. I am so beyond excited that I’m doing umpteen happy dances!!!
I have been using distilled vinegar and water (1-1) for all of my cleaning and disinfecting for a few years now. I love the fact that it is natural and has no chemicals, and I really don’t mind that everything smells like a salad after I clean. But … I know that some are sensitive to the overpowering smell of vinegar, so decided to experiment.
And … here’s the recipe:
1 cup lemon infused distilled vinegar (I filled a large jar 3/4 full of lemon peels and filled it with vinegar, then let it sit for 2 weeks, shaking daily)
1/2 cup apple cider vinegar
1/8 tsp. Dawn dishwashing liquid (I used the hand renewal lavender version)
2 tbsp. rubbing alcohol
3 drops of lavender essential oil
1 oz. (or whatever it takes to get it to the 1-1 mark on the bottle) straight distilled vinegar
fill to top with water
What a great confirmation of something I already knew! Lemons WILL remove stains from counter tops!!!
The other day, I made forbidden rice in a rice steamer. Nice idea, but not such a nice mess afterwards. The boiling rice spattered ALL over the counter top and left a nice big stain underneath the steamer. Vinegar water, dishwashing liquid, lemon juice and baking soda worked to clean up most of the mess, but a relatively large stain still remained.
I squeezed some lemon juice on the stain and left it. Unfortunately, lemon juice dries and/or evaporates, so even though the stain turned lighter, it still remained.
Brain storm time!!! I sliced a lemon, squeezed a little juice onto the stain and rubbed it in, but left the slices ON the stain instead of just using the juice. Every few hours or so, I squeezed a little more juice and rubbed, then left it again. It has now been 24 hours and the stain is almost completely gone!
As most of my friends know, I absolutely LOVE clearance racks! It is the first place that I go to in the store and often buy very little else than what I find there. Alas and alack, very rarely do I find meat or fish on clearance. HOWEVER, yesterday was my lucky day and I purchased salmon bones for $1.49/lb.! Some may think that there is nothing to them and that it was a waste of money, but this evening’s salmon chowder and salmon mousse was TO DIE FOR 🙂
Ingredients:
Stock:
2 lbs. fresh salmon bones
1 large onion (chopped)
2 medium carrots (sliced or cubed)
1 large celery stalk (sliced or cubed)
Water
White wine (approx. 1 cup)
Kosher salt
Lemon pepper
Dill
Peppercorns
Coriander
Turmeric
1 bay leaf
Chowder:
3 tbsp. butter
1 large onion (chopped)
1 large celery stalk (sliced or cubed)
1 cup frozen corn
3-4 tbsp. flour
4 cups salmon stock (or more, if needed)
Kosher salt
Lemon pepper
Dill weed
Minced garlic
Worchestershire sauce
7 small white (or red) potatoes (cut into bite size pieces)
Flaked salmon (about 1/2 of the amount that was removed from the bones after making stock)
Sour cream (optional)
Mousse:
Flaked salmon (about 1/2 of the amount that was removed from the bones after making stock)
1/4 package cream cheese (softened)
Huge dollop of sour cream
1 tbsp. lemon rind
Juice from 1/2 small lemon
Kosher salt
Lemon pepper
Dill weed
Garlic powder
The first step in the whole process is to make the stock.
Chop, slice and/or cube onions, carrots and celery. Put in large pot.
Add salmon and water. Pour enough water in the pot, so that it reaches about an inch or two higher than the ingredients.
Add herbs. Start with 1 tsp. salt, 5 peppercorns, 1 tbsp. dill, 1 tsp. each of coriander and turmeric, and 1 bay leaf. Stir and taste. Add more, if needed, depending on your taste.
Turn burner up to medium high and bring to a boil.
Add approximately a cup of white wine (I like to purchase the little bottles when they are on sale for $1, so that I always have cooking wine available – I used one little bottle, which is about a cup). Stir. Bring down to medium low heat.
Simmer for an hour, stirring occasionally, skimming off any substantial foam that develops.
After an hour, pour the stock into another pot or large bowl through a sieve. Cover the stock and let the fish and vegetables cool a bit, so that it is easier to separate.
Carefully separate all of the meat from the bones. Put vegetables in a separate bowl. Discard bones and skin.
Chop up another large onion.
Make sure that the original pot that you used has no bone remnants and use that for the chowder – there is no need to rinse it as long as you are sure that there are no little bones stuck to the sides. Put the butter in the pot and turn the burner on medium.
Add onions. Stir. When the butter starts sizzling, stir well for about a minute.
Chop or slice the celery stalk and add it to the pot. Stir. Let it sizzle for a couple of minutes, stirring constantly.
Watch carefully – as soon as the onions just START to brown …
… add the corn. Stir and let it cook with the onions and celery for about two minutes. Since you are using frozen corn, make sure that large pieces of frozen corn are melting and separated.
Add 3-4 tbsp. of flour. Cook at medium heat for two minutes, stirring constantly.
Gradually add 4 cups of fish stock, stirring constantly.
Add 1 tsp. each of salt, lemon pepper and dill weed and 1 tbsp. garlic (I really LOVE garlic, so use a HEAPING tbsp.!). Stir and taste. Adjust herbs as needed.
Bring to a boil and cook over medium heat, stirring constantly, until thickened and bubbly. It won’t be VERY thick, just starting to thicken. Taste and add more herbs or salt, if needed.
Add bite-size potato pieces. Stir. Bring to a boil. Turn to low or medium low and simmer for about 20 minutes until the potatoes are tender, stirring occasionally.
While you are waiting for your potatoes to simmer and become tender, prep your mousse. Put about 1/2 of the salmon meat into a food processor.
Cut the cream cheese into 4 parts and put into food processor. Add a very large dollop of sour cream.
Grate some lemon peel (approximately 1 tbsp.) and add the juice of 1/2 lemon.
Add 1/2 tsp. each of salt, lemon pepper and dill weed. Add 1/4 tsp. of garlic powder.
Put lid on food processor, process for about 1/2 minute. Use spatula to get mixture off of sides of bowl and process again for about 1/2 minute. Taste, adjust herbs and salt, if needed. Use spatula to get mixture off of sides of bowl and process again for about 1/2 minute.
Your mousse is done!
When potatoes are tender, add remaining fish to the pot. Stir. Simmer for about 3 minutes, stirring occasionally.
Your chowder is also done! Serve with a dollop of sour cream, if you would like, or as is. Spread mousse on bread or rolls or crackers. Enjoy!
I must admit that I did not know that violets (wild or wood violets – those adorable little “weeds” that grow everywhere in spring) are edible. The entire thing – the flowers, the stems, the leaves. AND they are very healthy – there is lots of vitamin C in there! When I discovered that and also realized that my yard is full of them, I decided to look up some recipes. This violet blossom jelly is really quite delicious, but it does take a bit of work.
So … first you need to pick them. They grow everywhere, but do be a bit careful. Do NOT pick them in areas that are sprayed or you will have pesticides in your jelly. Avoid areas where dogs go … even though you will be rinsing them, that’s just not really desirable 🙂 You will need 2 cups of PACKED flowers, so you need to pick quite a bit.
Here they are – they are lovely, they really are!
After you’ve picked enough, they need to be rinsed. A salad spinner is a wonderful tool – I recently purchased one and in this situation it was invaluable. The wetter your petals are, the more they will stick to your fingers and the more painstaking the petal separation is. So, put your flowers in a bowl, pour water on them, swish them around a bit and then use the salad spinner 2x to get rid of most of the water.
Fold a paper towel and put it in the bottom of a container. Put your rinsed and spun flowers on top.
If you need to store the violets you have picked before processing, put another folded paper towel on top, cover and put in the fridge. They will stay fresh for at least a day or two.
And … now … the separation. This takes FOREVER. I’m not kidding – put on a movie and sit in front of the tube while doing this or you will go nuts! Pull the petals off of the sepal (the green part). You can either toss the green stuff or just toss it into a salad, if you like – remember, ALL of it is edible! (Note: several recipes said “remove stem”, so this step might not be necessary. I will try it again and NOT remove the sepal and will let you know how it goes!)
You need 2 cups of packed violet blossoms/petals. I “fudged” just a bit and didn’t pack them too tight – hehe!
Boil 2 cups of water. Pour boiling water on the blossoms/petals in the jar. Cover.
Almost immediately, you will notice that the water is turning blue.
Soon, the water will be dark blue/purple. You need to steep the blossoms/petals for at least two hours. It is best to leave it overnight.
Once the infusion is dark blue, you are ready to make jelly.
Ingredients:
1 3/4 cups violet infused water
1/4 cup fresh lemon juice
4 cups sugar
1 packet/pouch liquid pectin
Pour the violet water through a strainer into a measuring cup. You need 1 3/4 cups of liquid. If necessary, squeeze the petals to get enough liquid. Toss/compost the now light blue petals.
Squeeze your fresh lemon to get 1/4 cups of juice (one medium sized lemon should do it).
Pour violet infused water, lemon juice and sugar into a pot and turn the stove on medium-high. Stir. The dark blue/deep purple color of the infused water will turn magenta when mixed with the lemon juice.
Once it comes to a rolling boil, add pectin. Stir and bring back up to a rolling boil
Once it is at a rolling boil, stir continuously and boil for 2 minutes. Turn off the burner and skim the foamy stuff off of the top. Ladel into hot, sterilized jars and put on the lids.
Pressure canning is not needed. As long as you process (boil) the jars for 10 minutes, you are golden. When they have boiled for 10 minutes. turn off the heat and leave the jars in the pot for 5 minutes. Take the jars out and listen for that beautiful “ping” or “pop”. Your jelly is ready!
I was able to do four 8-ounce jars of jelly and one that is about 3/4 full. I did not process/boil the non-full jar, so it went in the fridge once cool. Fully processed and ping-ed jars should last for about a year.
Serve on buttered toast, muffins, rolls, etc.. It really is very delicious and the color is wonderful!
I am a sucker for garlic stuffed olives. I am also a sucker for feta cheese. Add yellow tomatoes to the mix and a few other ingredients, and this is a salad that I can love to my very core. Sometimes lettuce is just overrated – sorry, little green wonderleaves, but there are times that I don’t want to watch you wilt under my dressing. THIS salad is for those times.
Ingredients:
12 garlic stuffed olives (packed in water)
1/4 lb. feta cheese
6 small yellow tomatoes
1 tbsp. extra virgin olive oil
1 tsp. fresh lemon juice
1/4 or even 1/8 tsp. of kosher salt (you REALLY don’t need a lot, trust me!!!)
1/2 tsp. rubbed sage
1/2 tsp. powdered garlic (because you can never have enough garlic!)
Place olives in bowl — I use either my fingers or a spoon. There is no need to strain them as a little bit of the liquid in which they are packed adds to the flavor.
Cut feta cheese into 1/4 inch cubes and add to olives.
Cut the tomatoes into 1/8ths. Add to the olives and feta.
Add the rest of the ingredients. Stir well OR put them in a container with a lid and shake gently.
The salad is ready to serve, but if it is refrigerated for an hour or two or five, the flavors will mix and become even more pronounced (therefore this is a great salad to prep in advance!).